Epson NX510 Quick Start Guide
Browse online or download Quick Start Guide for Multifunctionals Epson NX510. Epson NX510 Start Here Guide User Manual
- Page / 8
- Table of contents
- BOOKMARKS
Summary of Contents
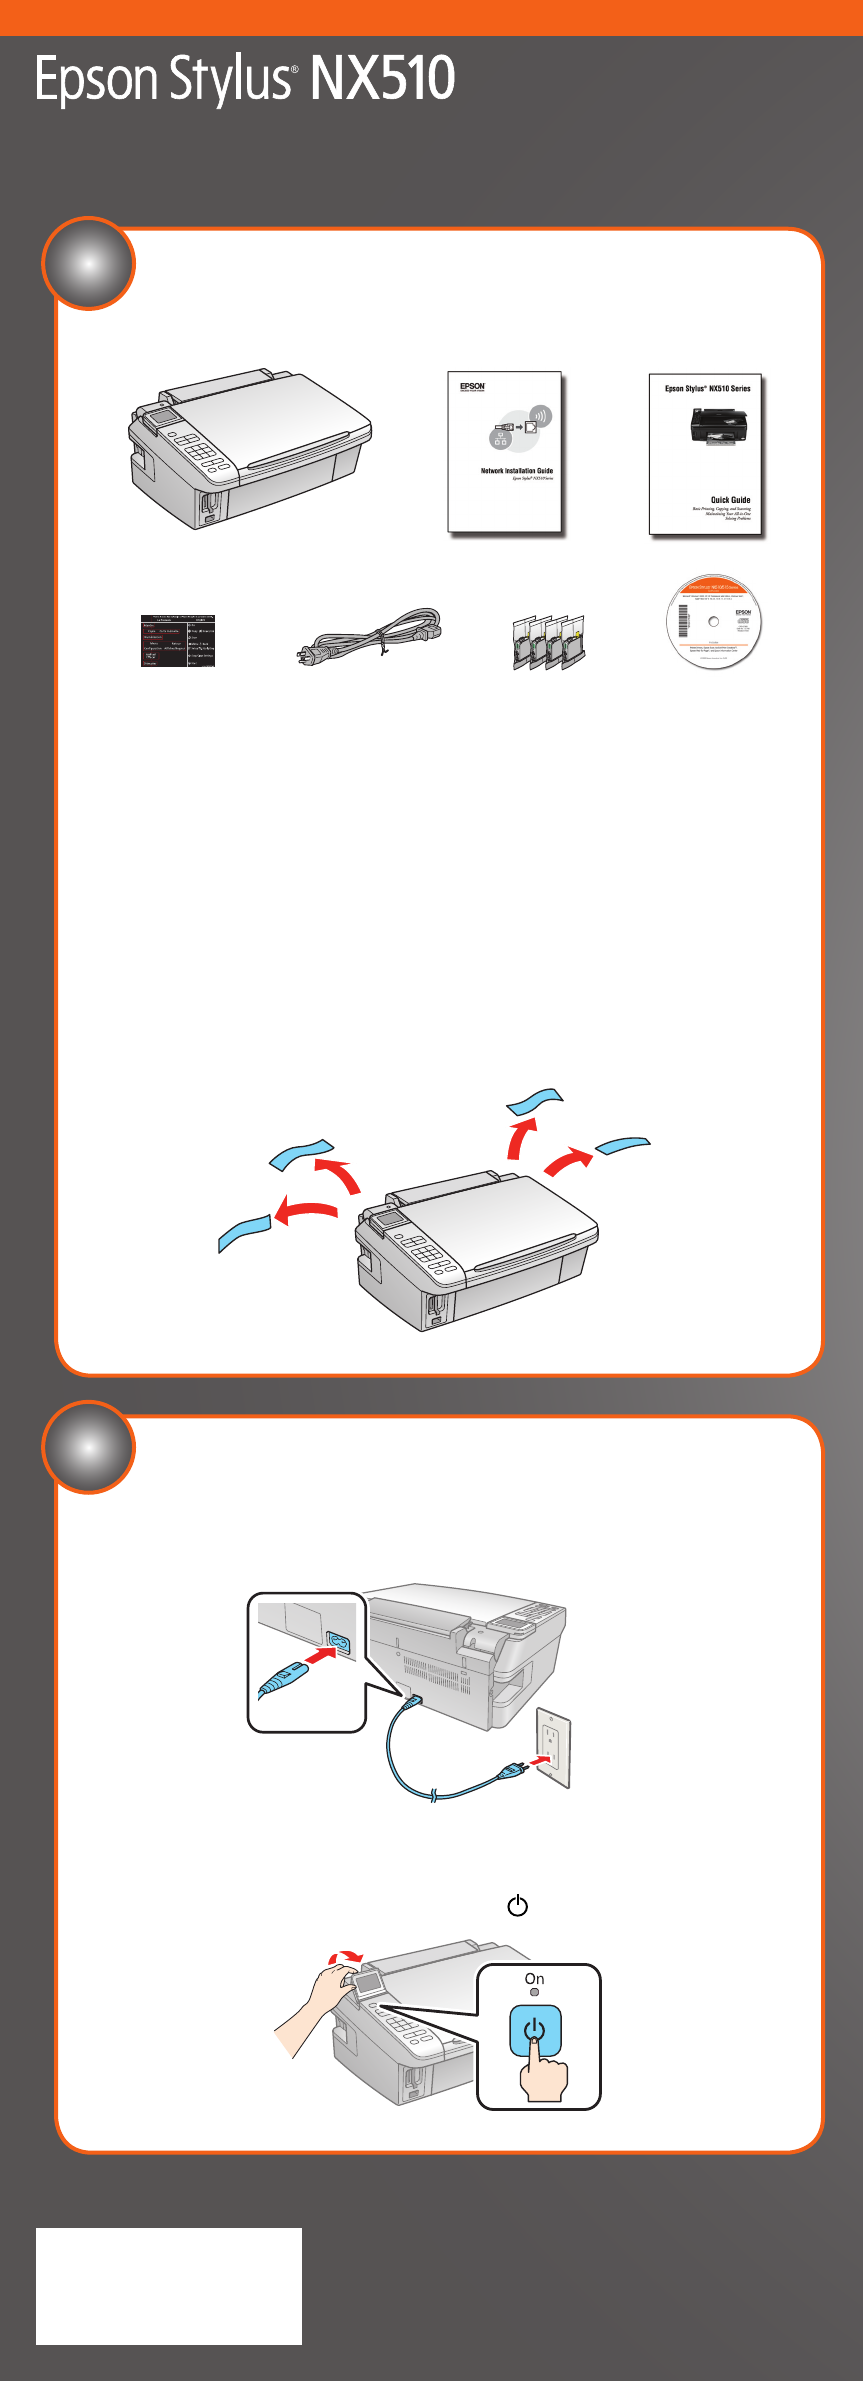
*411638300**411638300*If anything is missing, contact Epson as described on the back.Note: The model name of your produ
*411638300**411638300*If anything is missing, contact Epson as described on the back.Note: The model name of your produ
*411638300**411638300*If anything is missing, contact Epson as described on the back.Note: The model name of your produ
*411638300**411638300*If anything is missing, contact Epson as described on the back.Note: The model name of your produ
5 When prompted, connect a USB cable. Use any open USB port on your computer. Note: If installation doesn’t continue after a moment, make sure you
5 When prompted, connect a USB cable. Use any open USB port on your computer. Note: If installation doesn’t continue after a moment, make sure you
5 When prompted, connect a USB cable. Use any open USB port on your computer. Note: If installation doesn’t continue after a moment, make sure you
5 When prompted, connect a USB cable. Use any open USB port on your computer. Note: If installation doesn’t continue after a moment, make sure you
Related products and manuals for Multifunctionals Epson NX510

 (4 pages)
 (16 pages)
(414 pages)
(493 pages)
(16 pages)
(16 pages)
(333 pages)
(16 pages)
(414 pages)
(493 pages)
(16 pages)
(16 pages)
(333 pages)
© 2020, manymanuals.com. All rights reserved. | 2.362 s |
 Manymanuals.com
 Manymanuals.de
 Manymanuals.fr
 Manymanuals.it
 Manymanuals.pl
 Manymanuals.cz
 Manymanuals.es
 Manymanuals-pt.com
Comments to this Manuals